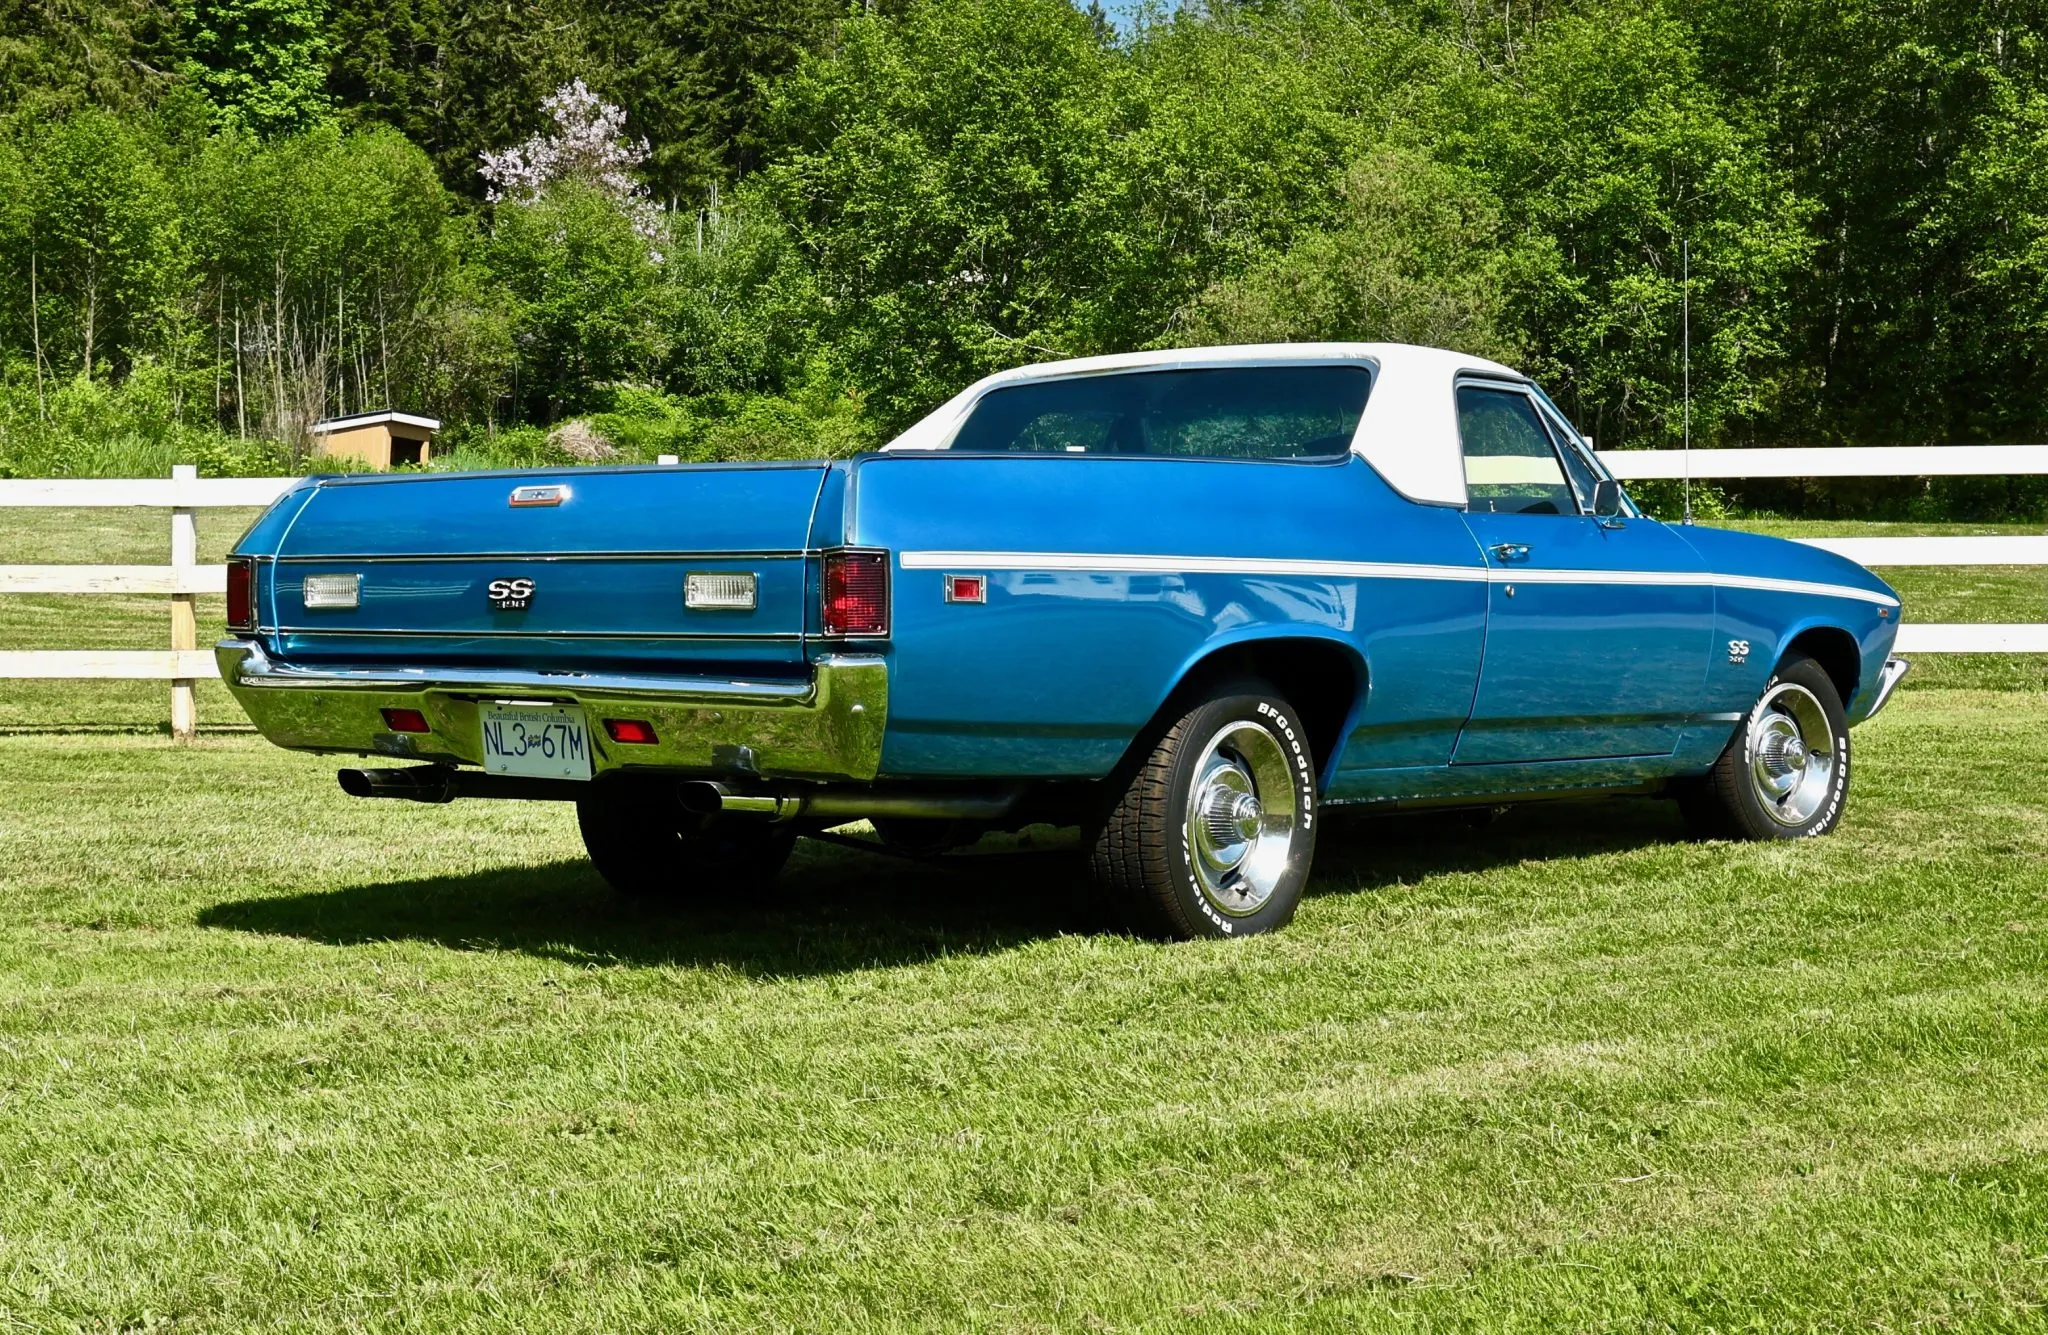
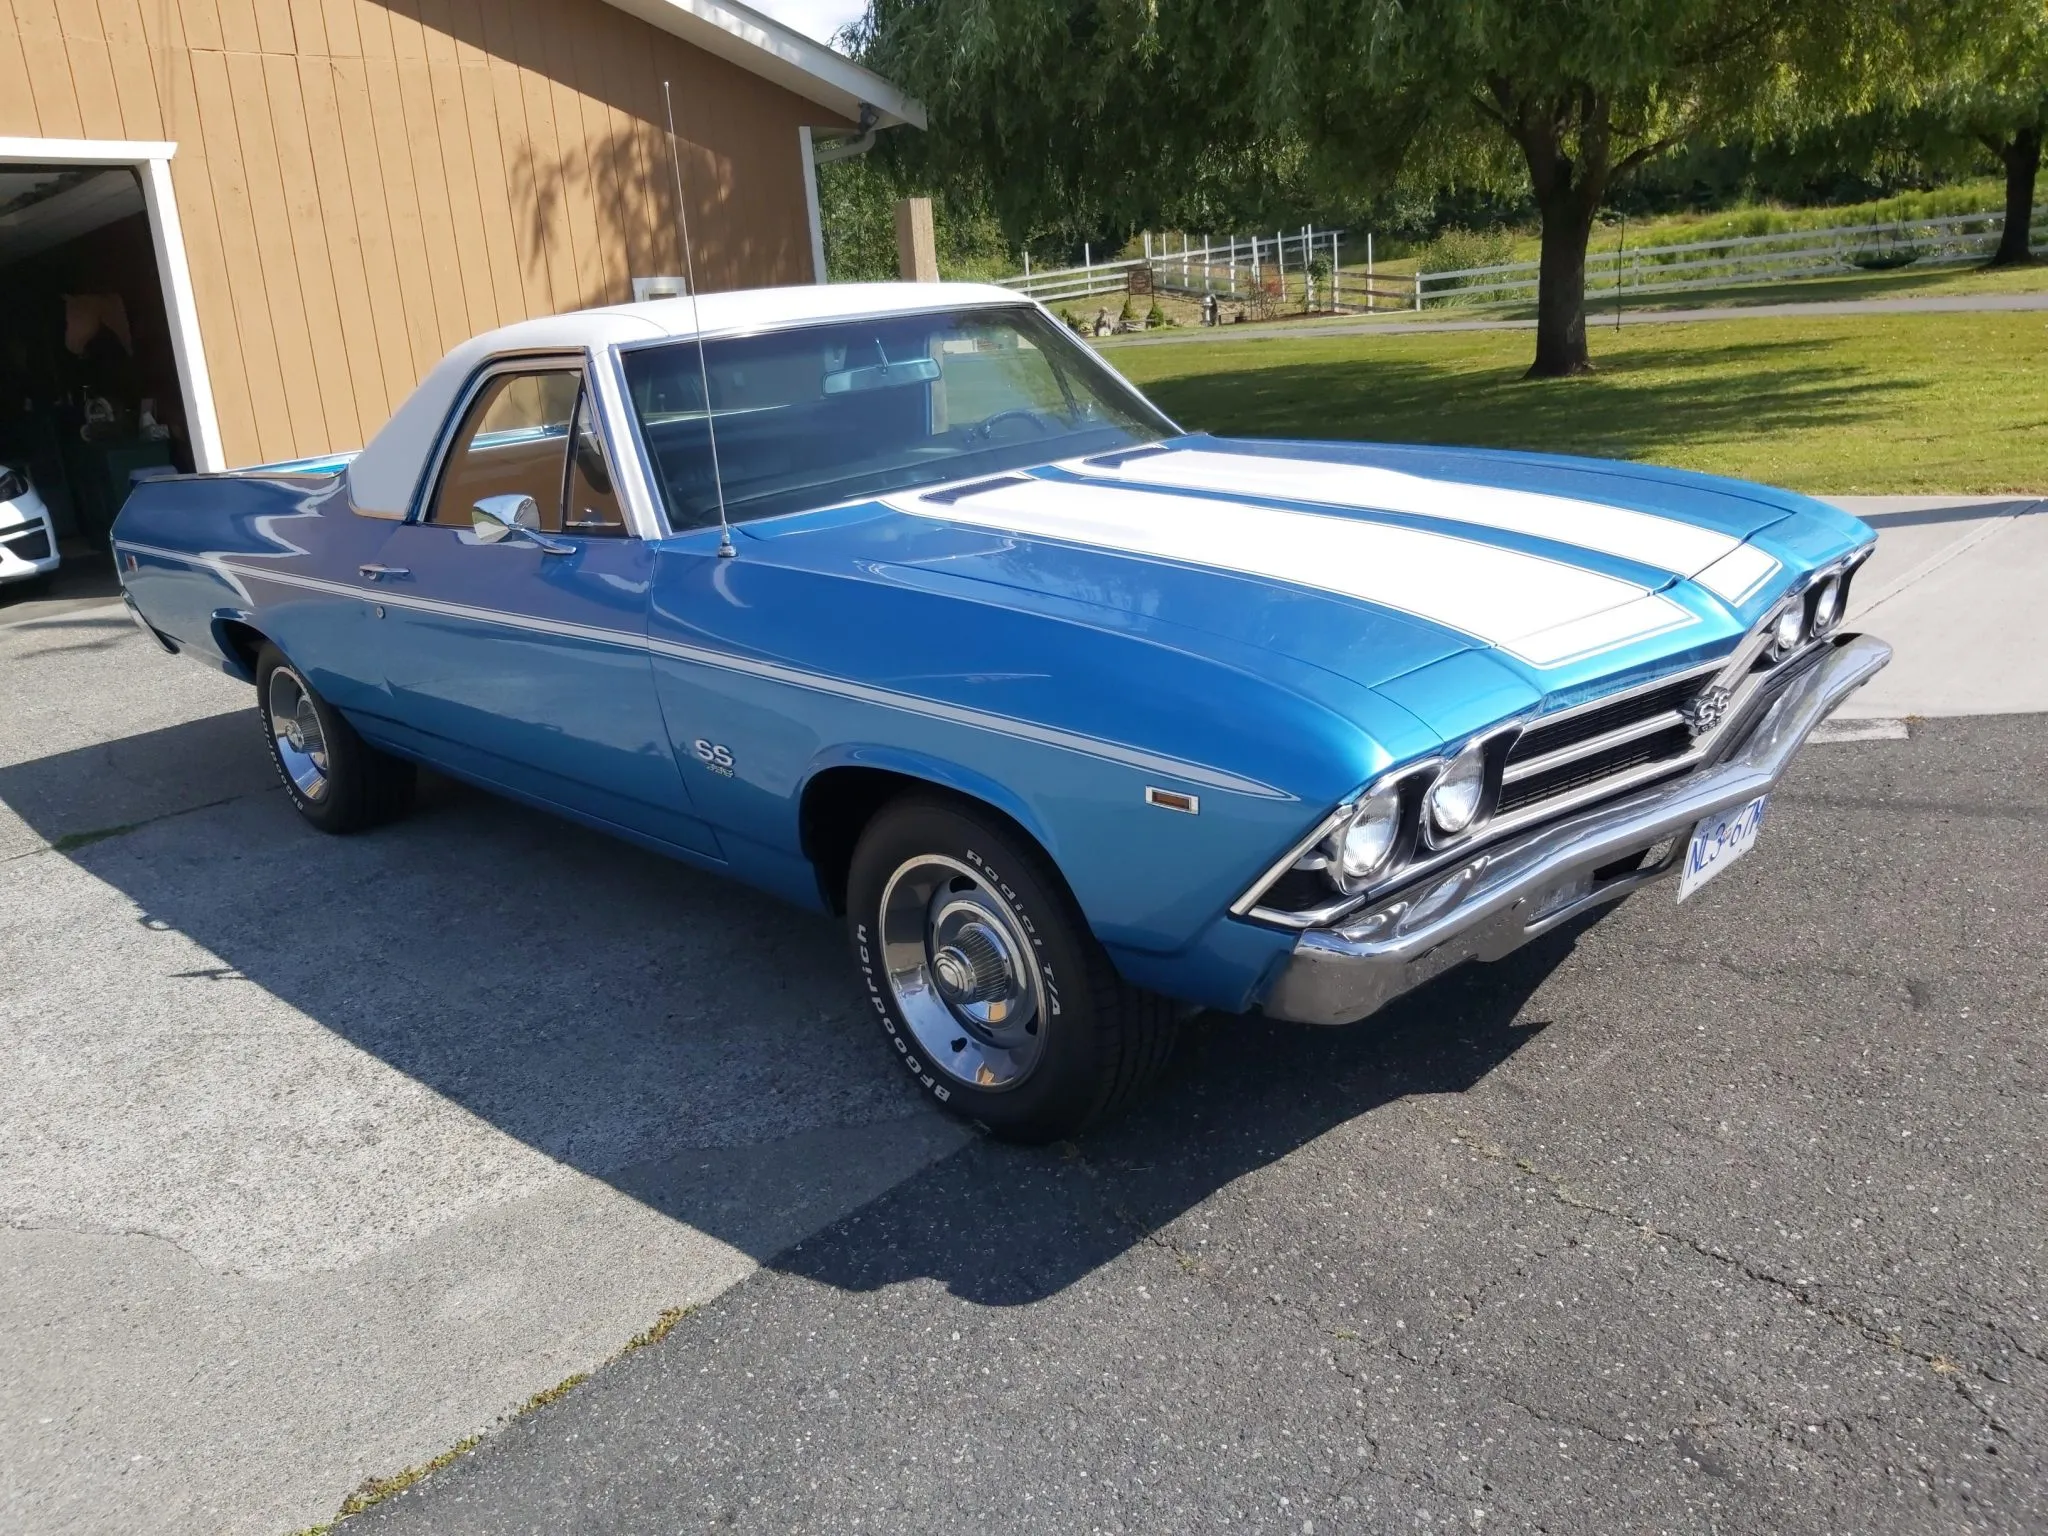
1969 Chevrolet El Camino Malibu Edition
1969 Chevrolet El Camino Malibu Edition
Car Specifications
Year Made
Location
Type
Option Package(s)
Body Color
Trim Color
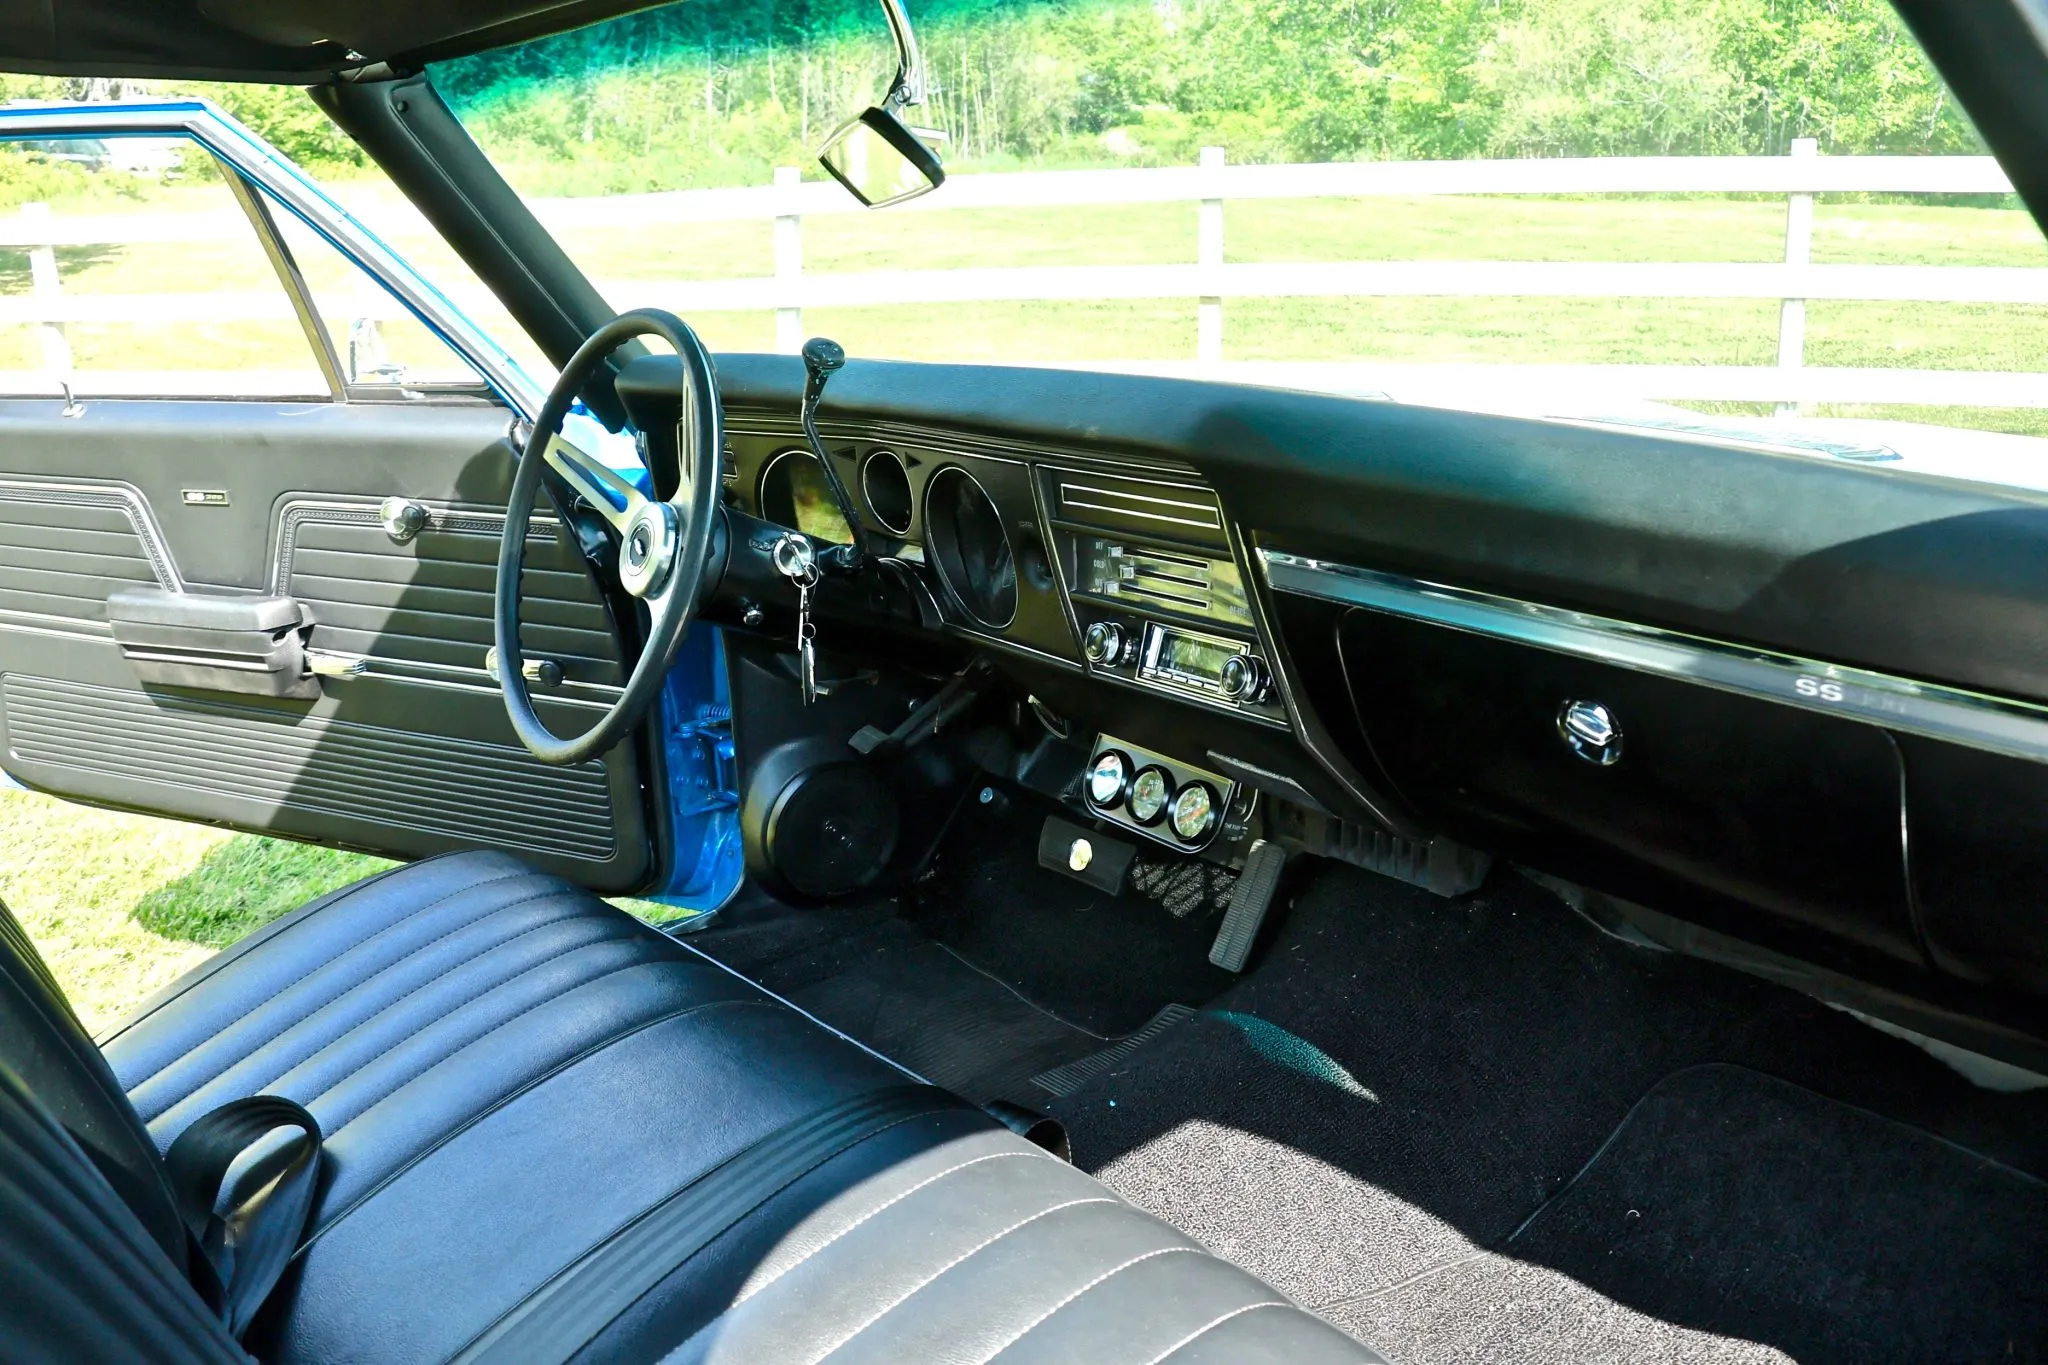
Interior Color
Interior Style
# Previous Owners
Documentation
1969
Baltimore, MD
Pick Up
Malibu Series
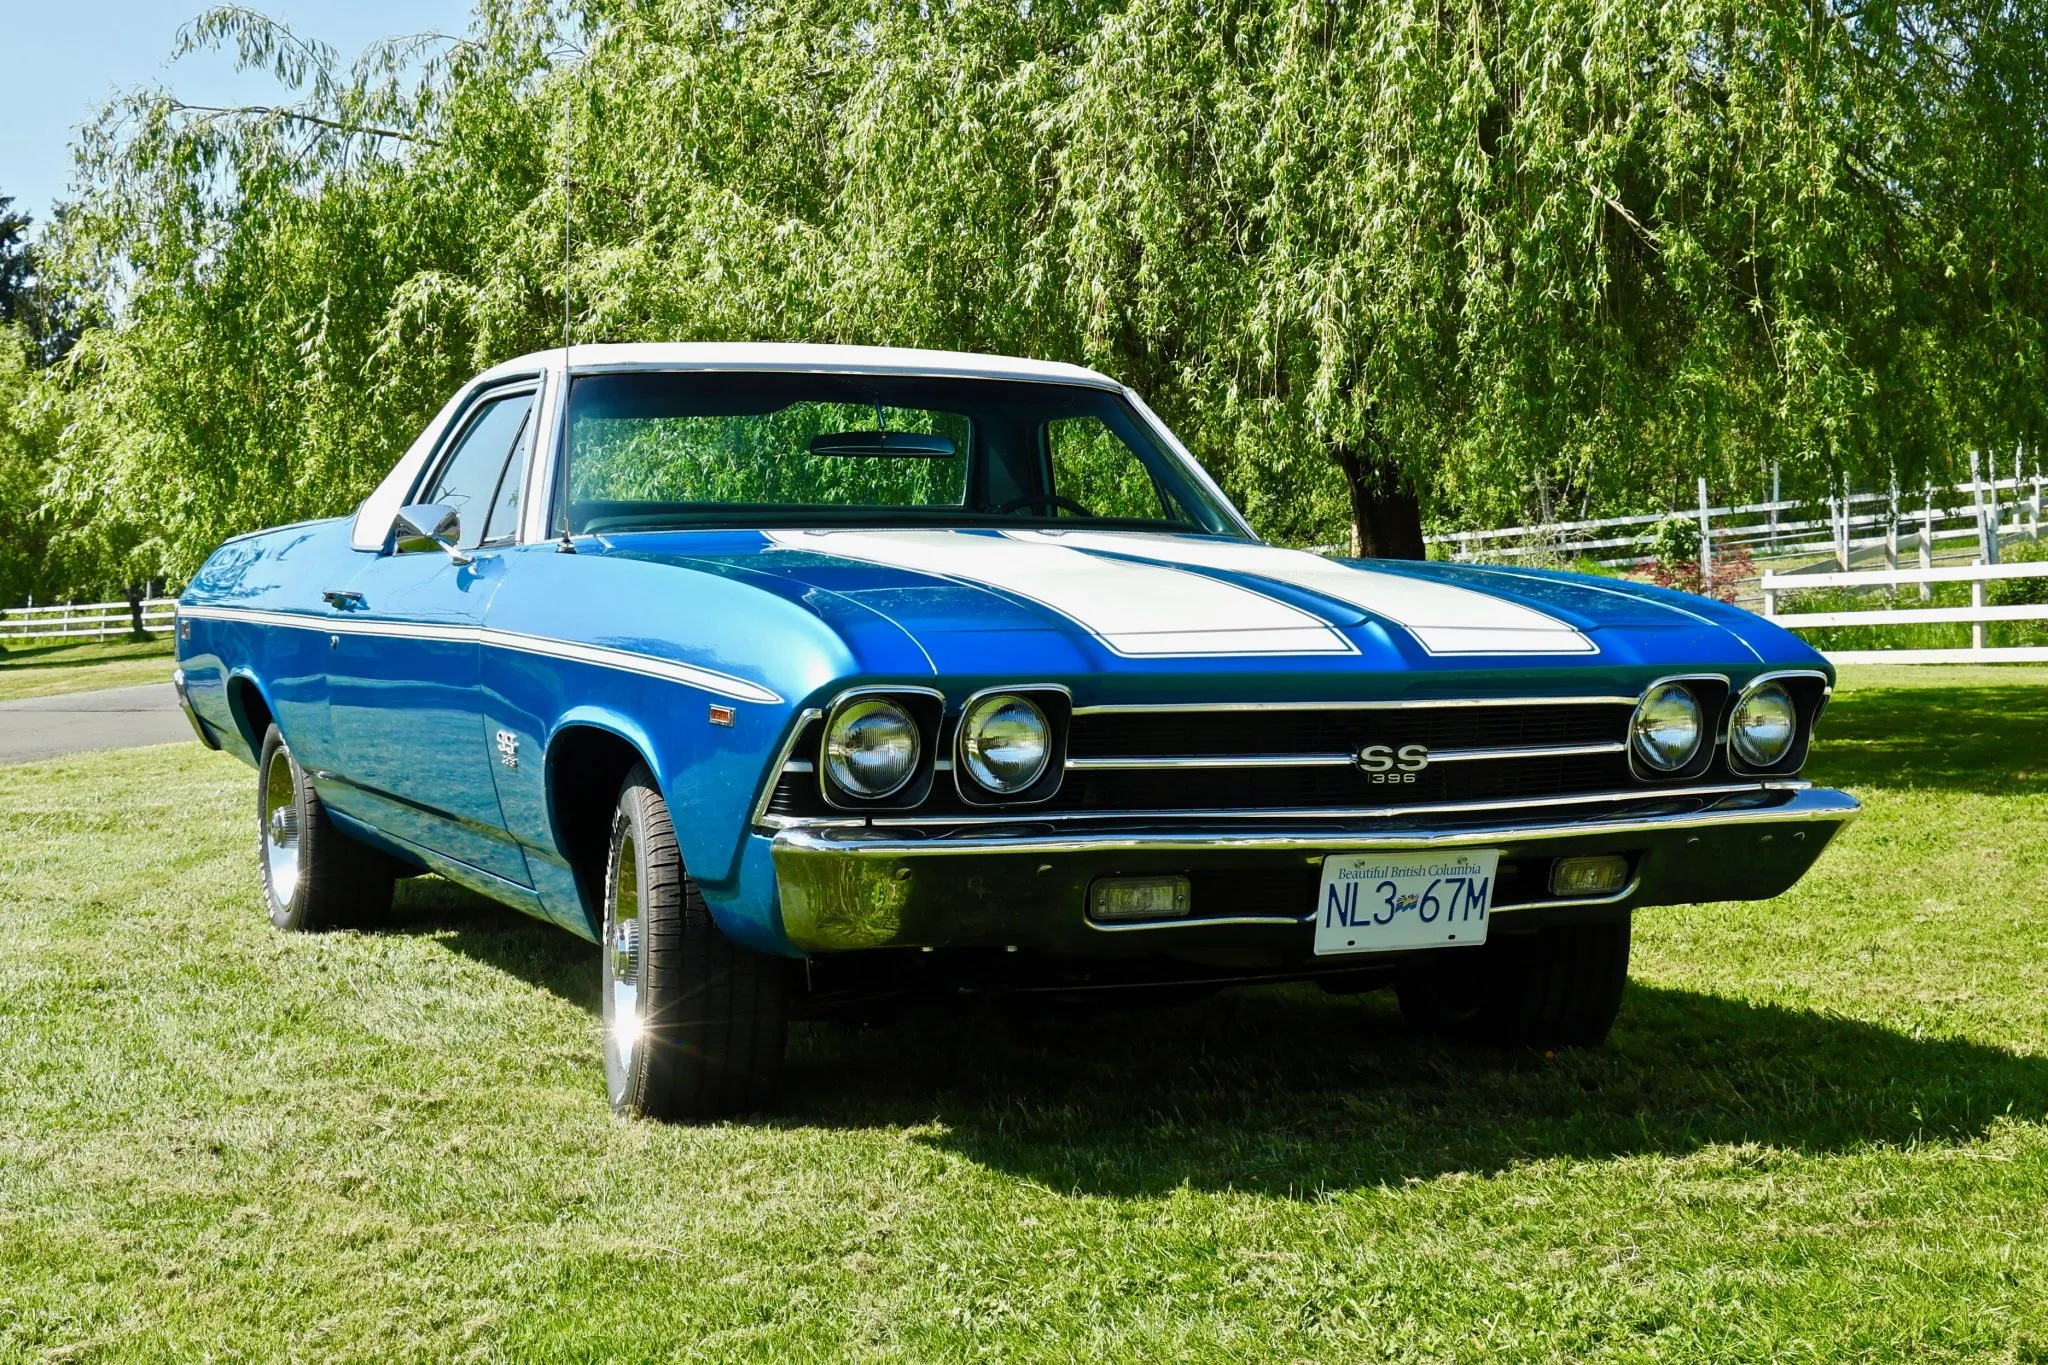
Two-tone Dusk Blue/Gray – Soon to be all Le Mans Blue
Same
Metallic Dark Blue
Coated Fabric (bench seat)
1 Prior Owner
Minimal, less than 47,000 original miles
Key Enhancements
Insert content here.
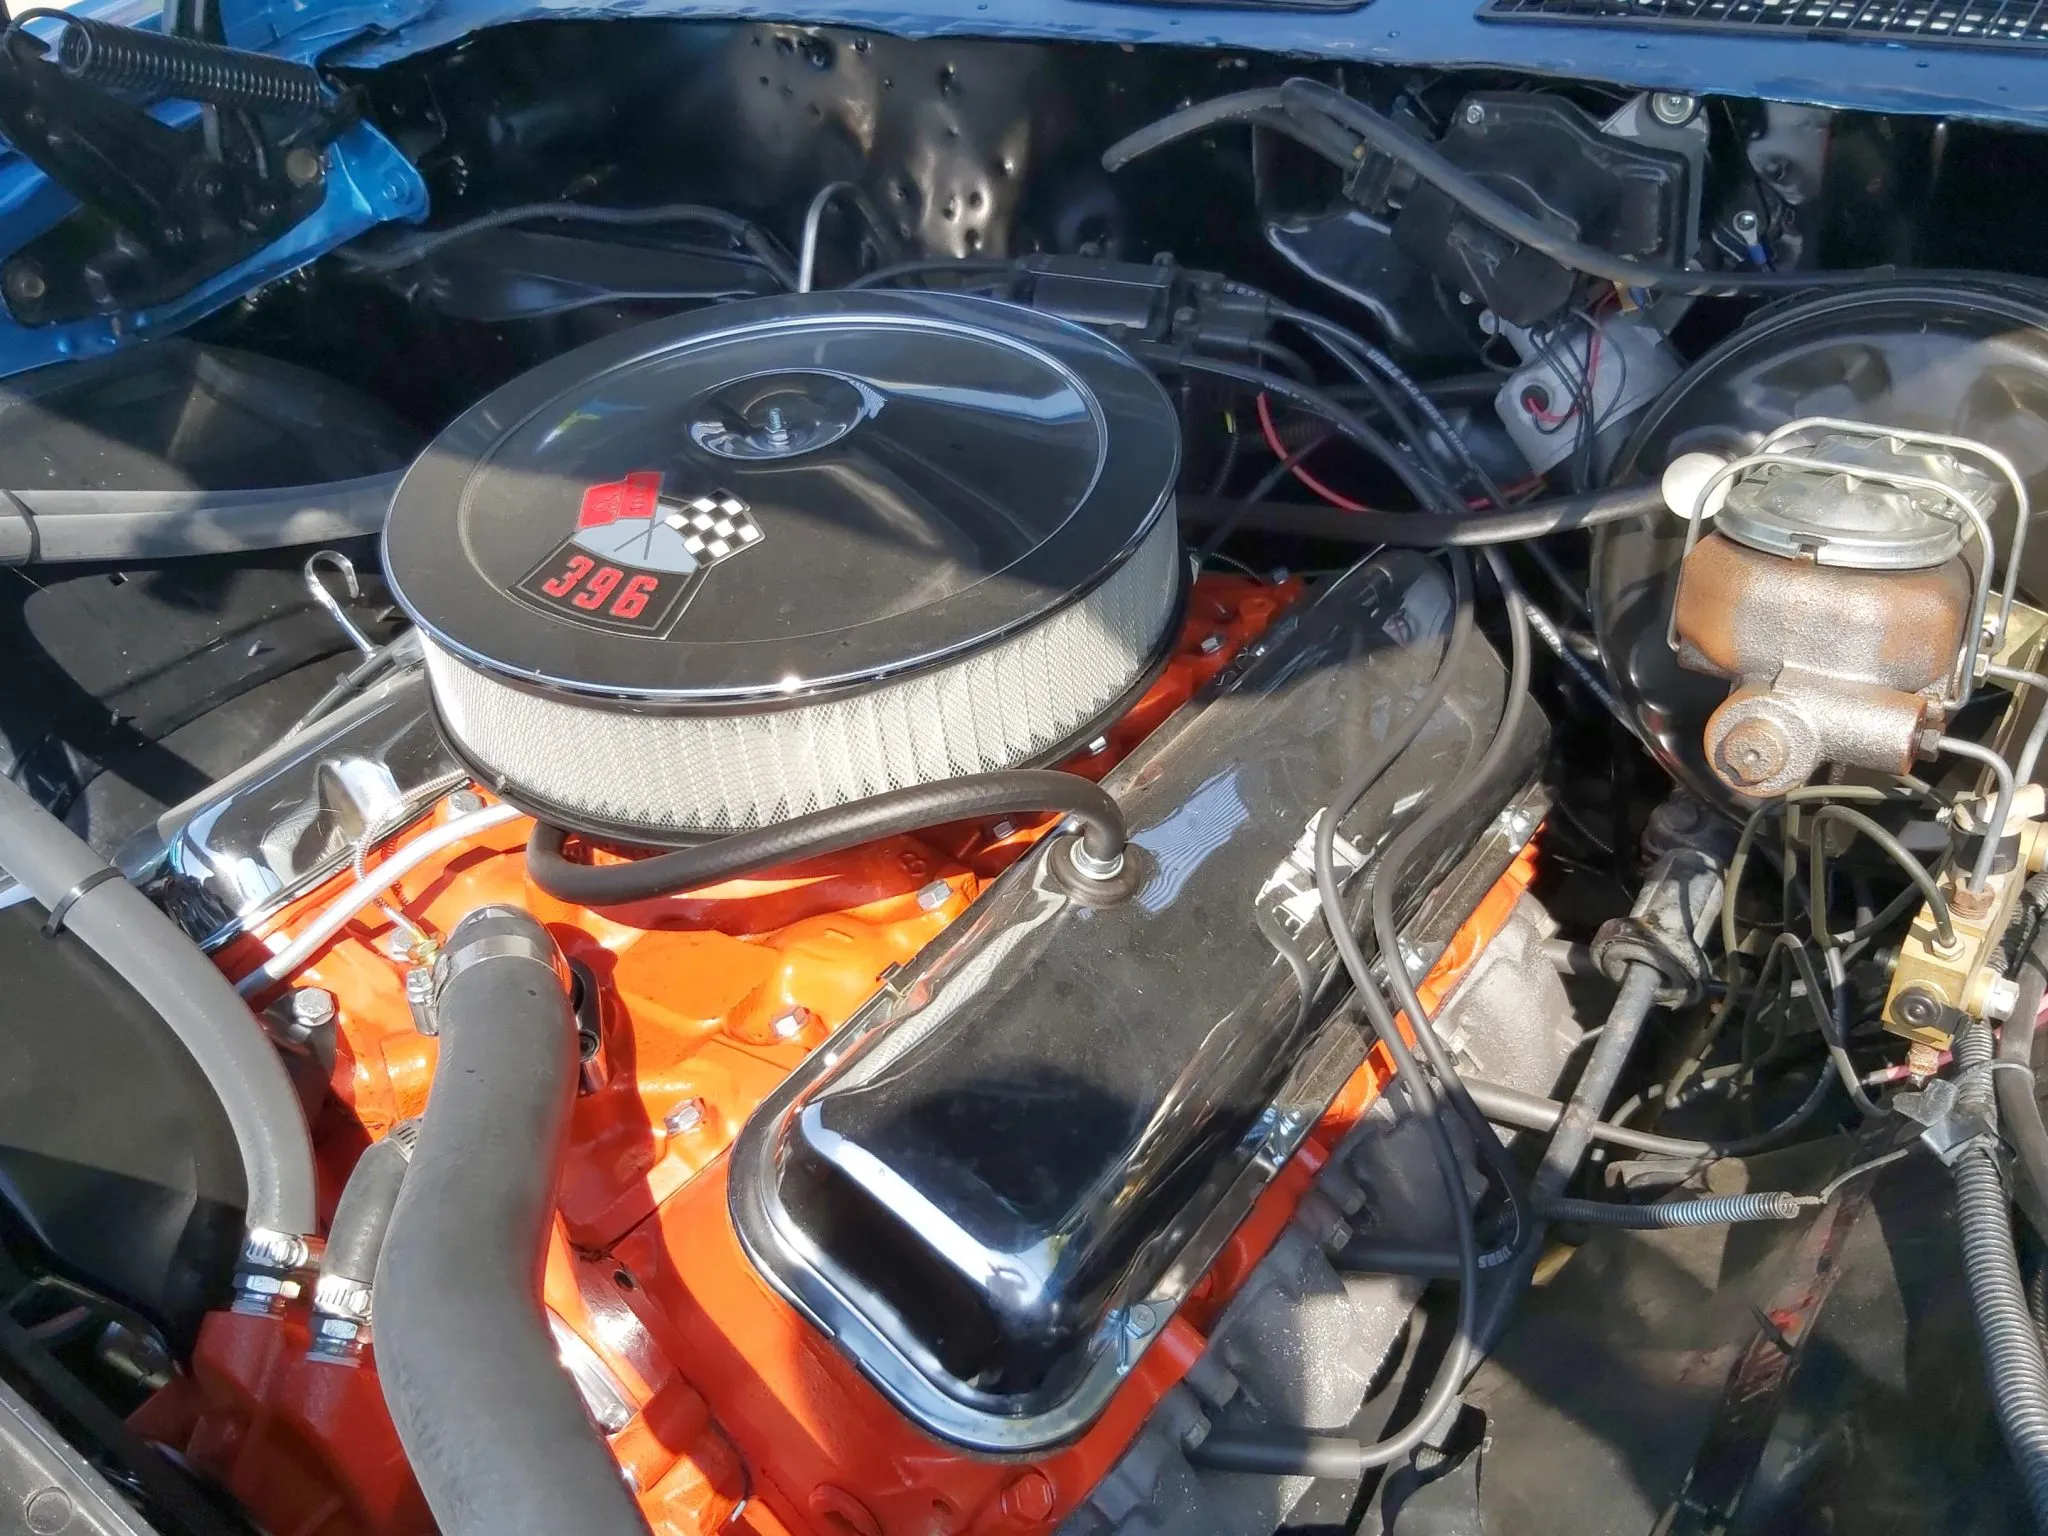
Engine Specifications
Cubic Inch:
Matching numbers:
Carburetor:
Intake Manifold:
Headers:
Enhancements:
307 cubic-inch, 200-hp Turbo-Fire V8 small block
Yes
Edelbrock 4-barrel, 600 cfm
Elelbrock Aluminum
Shorty Chrome
Basic engine dress up items and electric radiator fan
Drivetrain
Transmission:
Rear Axle:
Gear Ratio:
Tire Specs:
Wheel Specs:
Original 2-speed Power Glide
10 Bolt
3.36:1
P225/70/R15 BF Goodrich Radial T/A
Front: 15×7, Rear 15×8
Acquiring the Car – The Backstory
This is the first of two well-bought Pandemic 2020 buys. After poking around on eBay for a few months and coming close to bidding on a couple of project vehicles, I came across this auction in Birmingham, Alabama. The gentleman who made the post was the president of an air conditioning company and had inherited the vehicle from his father, the second owner. Because air conditioning systems were in such critical demand, including in hospitals, during the Pandemic, the gentleman decided he didn’t have time to tend to the vehicle and posted it on eBay. It was a Sunday night, and I had reviewed all the photos and details of the auction, decided it was a solid vehicle, and chose to submit a conservative bid. It was late at night, and I really didn’t think I would have any chance of winning the auction. Well, I woke up Monday morning and bingo, I am the new proud owner of a 69 El Camino.
To retrieve the vehicle, I got up at 3:00 am one day the following week and drove all the way to Alabama to meet the gentleman at his business at 2:00 PM. After a quick test drive, I knew this would be a solid candidate for a project. I paid the gentleman cash, and we exchanged information; he signed my bill of sale and shared the title. One slight hiccup was that he had never transferred the title from his father’s estate, so I had to secure a copy of the will and a letter confirming his position as executor of his father’s estate. Hopefully, the title office back in Texas will process all of this and issue me a clean title. Thankfully, it all worked out.
To bring the vehicle back home to Texas, I rented a U-Haul Auto Transport Trailer and headed back that afternoon. Found a decent hotel with a gated parking lot and chained my new baby securely to the trailer for the night. Admittedly, I didn’t sleep all that well, worried about my new score, so I popped out of bed at 5:00 am and headed back to DFW.
The Restoration Process
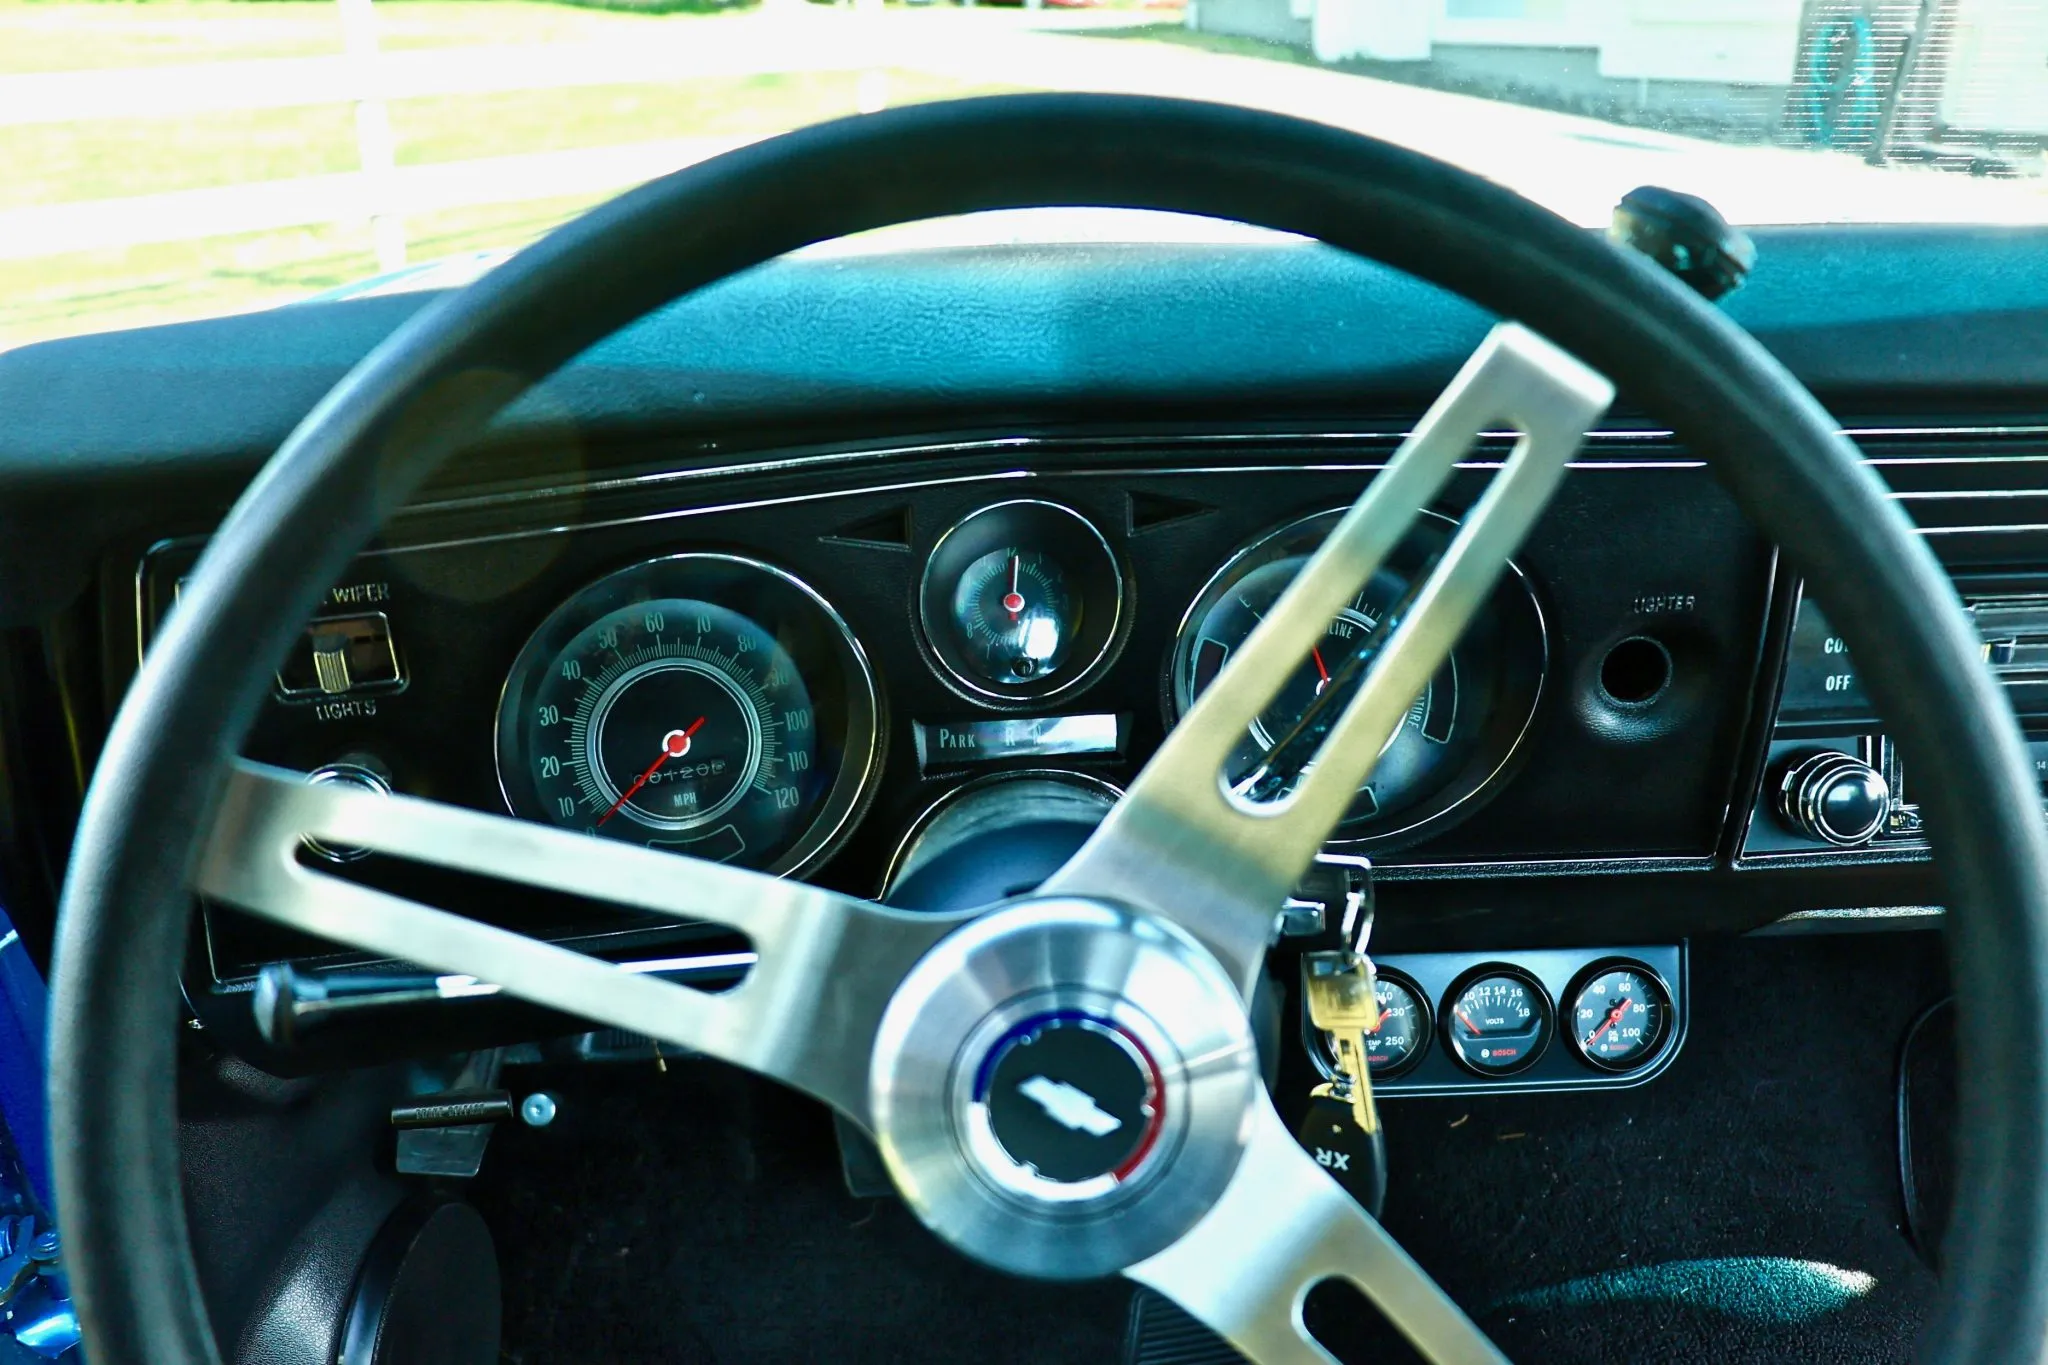
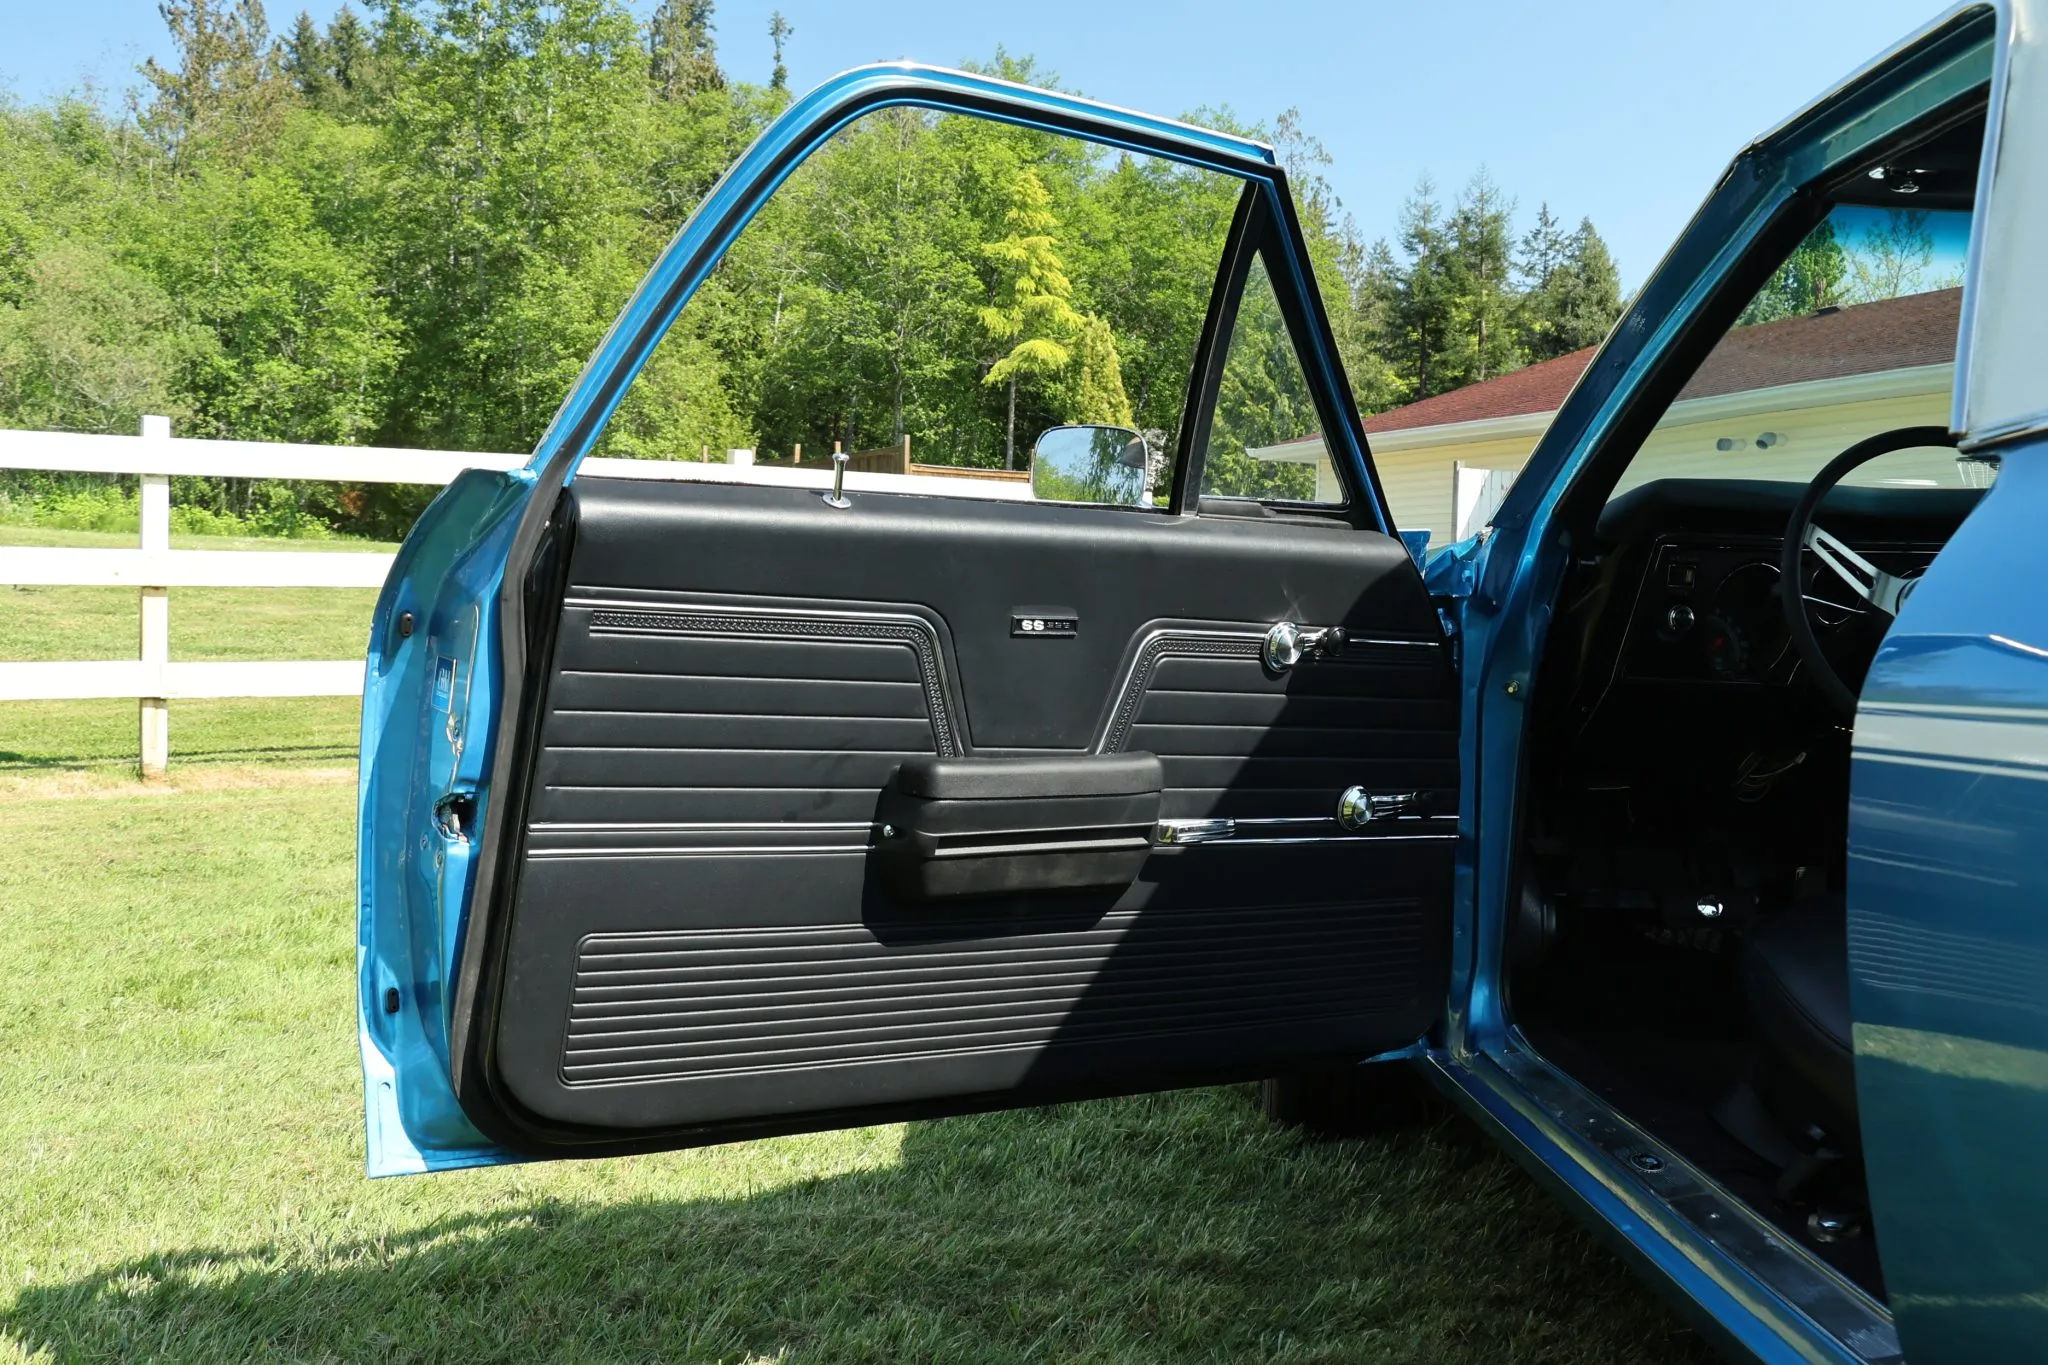
Once safely back home, I thoroughly inspected the vehicle and found a very solid body and a decent drivetrain. An AM/FM cassette deck with a seven-channel equalizer was a fun bonus, but I determined it was a bit sketchy. The interior was redone sometime in the 80s with blue and grey crushed velvet fabric, and honestly, it really gave off a serious Grand Dad scent. Rubber floor mats and worn carpet completed the scene. I decided at that point to shift back to the original black vinyl seat covers and black cut-pile carpeting, and to install Custom Autosound audio. Behind the bench seat, there is ample room, so guess where the enclosed subwoofer is going to be located.
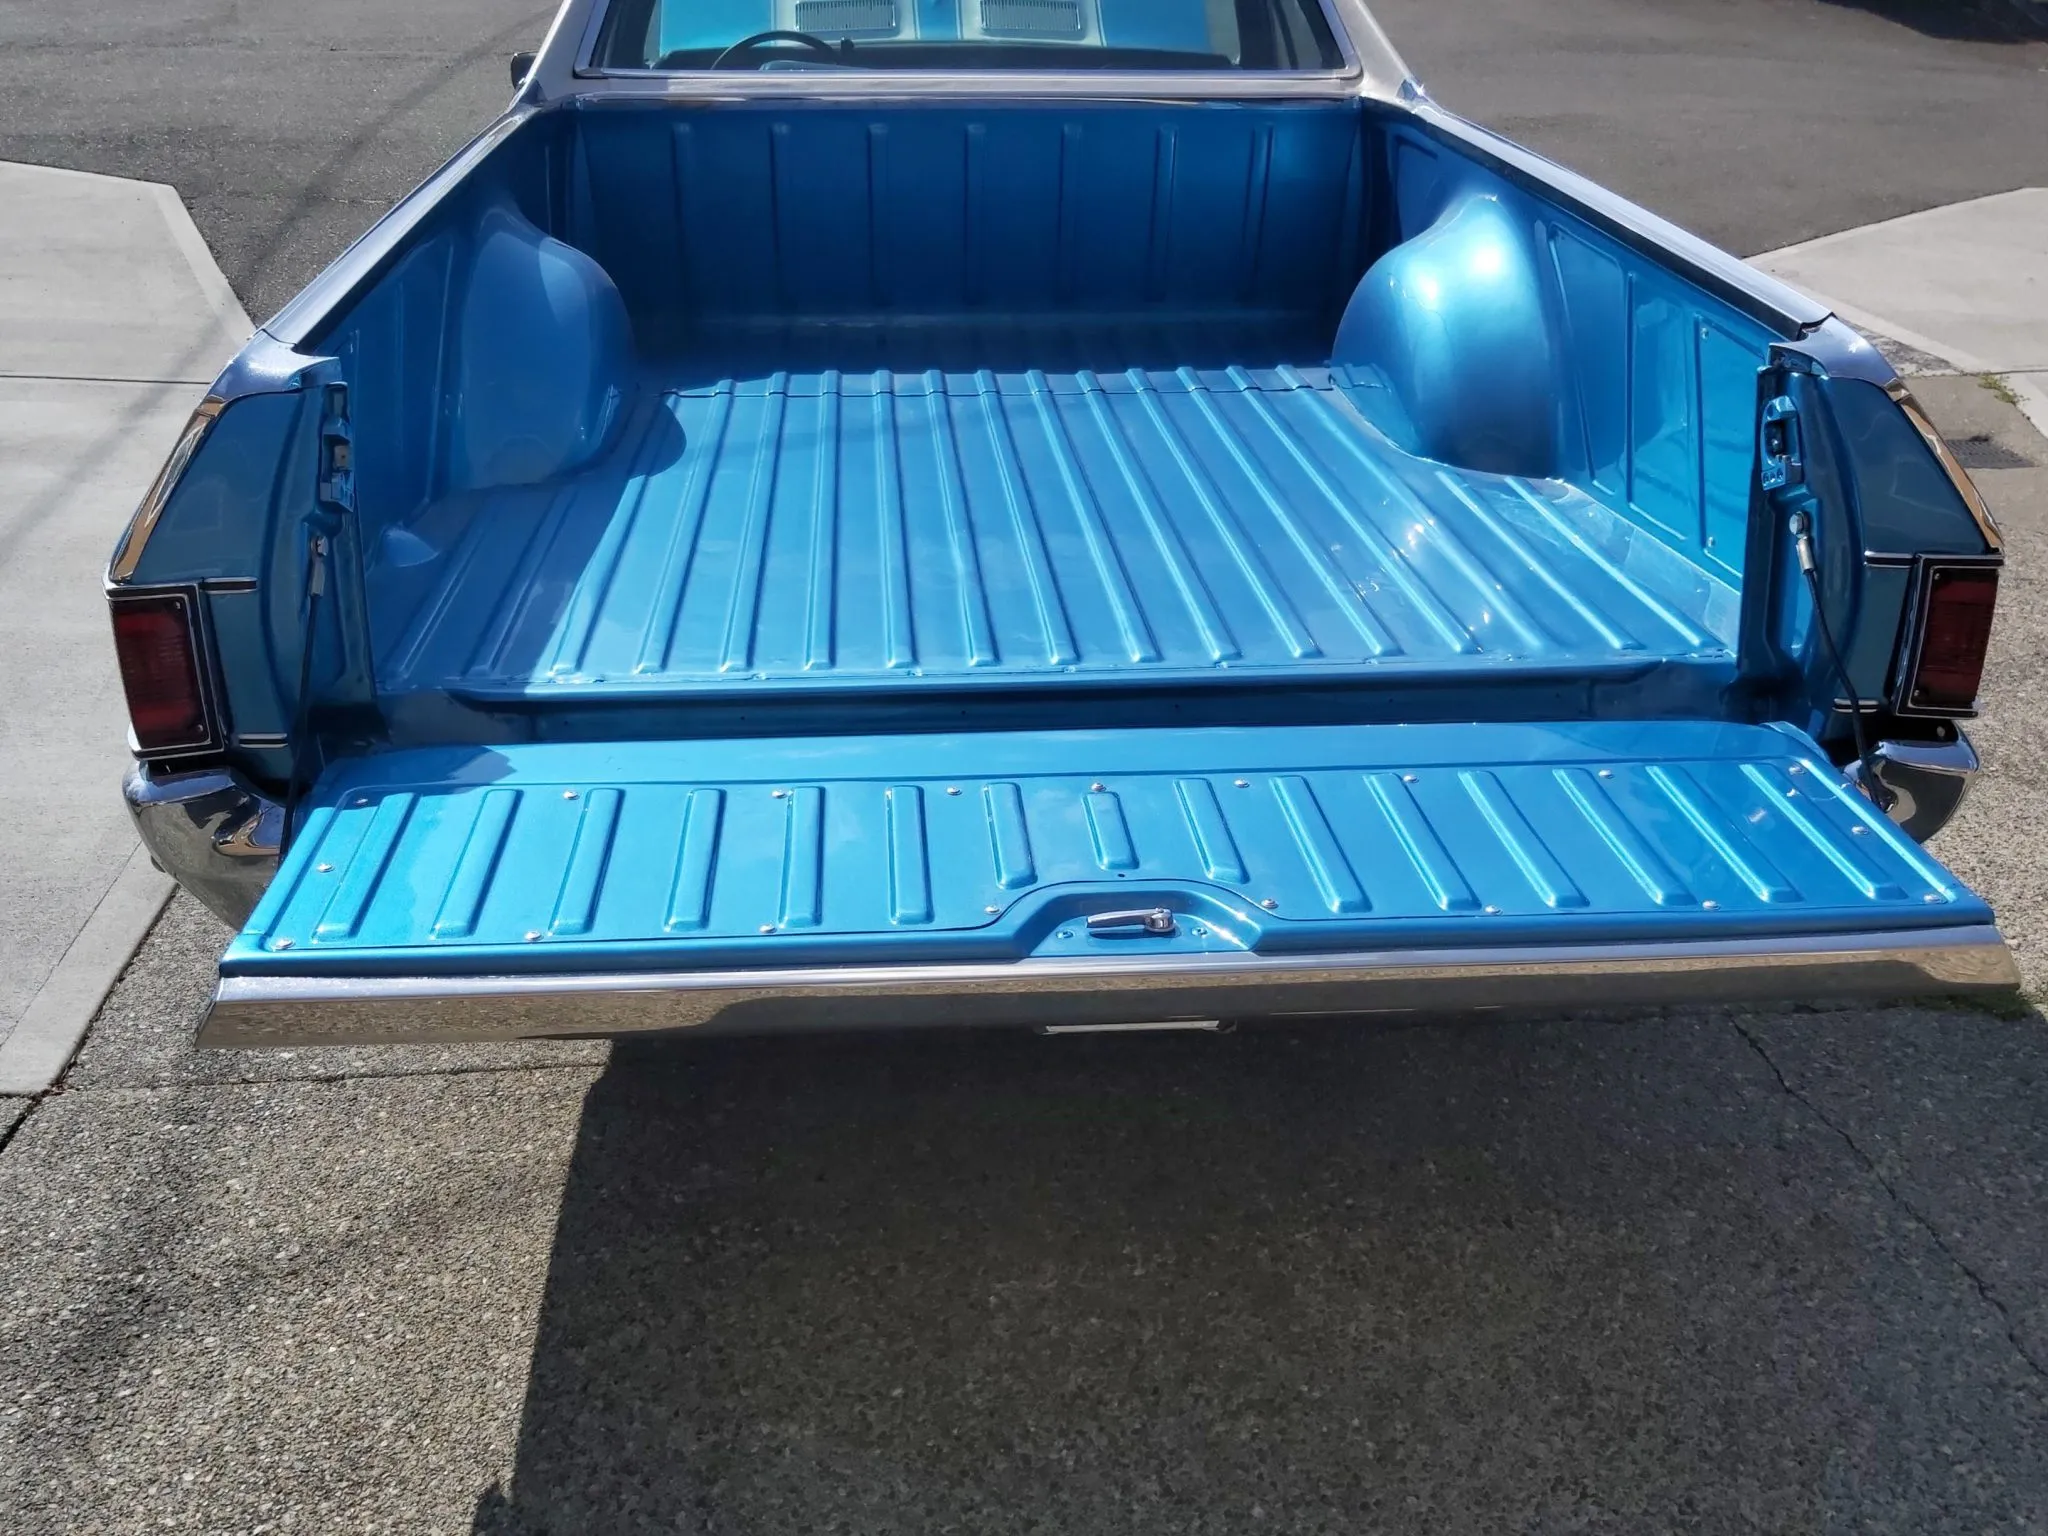
For the exterior, the Midnight Blue/Grey two-tone paint was done about ten years ago. Not a factory color scheme. Chrome is in decent shape but will need to be redone to restore its luster. The pickup bed is in miraculous shape with no dents or rust spots. I do see a few minor paint bubbles in the rockers – to be expected. The undercarriage was very dirty with just surface rust, dirt, grime, and undercarriage coating.
Mechanically, I decided to replace the exhaust manifolds with Chrome Shorty headers and did a front-end refresh with all new bushings, tie rods, control arms, and front shocks. I had purchased a FlowMaster exhaust system from a fellow member of the North Texas Camaro club and determined it would be the perfect application on the El Camino.
After driving the vehicle on a few trips around town, I quickly realized the 2-speed PowerGlide transmission would never cut it on today’s Interstate roads. Getting the vehicle up to 60 miles an hour led the engine to whine at 3000 RPM. Luckily, 12 months earlier, I had connected with a gentleman named Joe Phillip Thomas, who has an amazing shop up in Pilot Point, Texas, and he was selling a period-correct TurboMatic 400 3-speed automatic transmission along with an original 350 V8 Chevy engine, both for $500. That was quite a score. As of this writing, the transmission is being updated with an installation kit and a slightly shortened drive shaft.
To balance the ride height, I installed new air shocks in the rear. The final touch on the restoration will include replacing the totally awful blacked-out Cragar 13’ wheels with proper 15” Chevy steel wheels, chrome trim rings, chrome inset wheel covers, and white raised letter BF Goodrich rubber.
Interesting Ownership Developments
Since the underside of the vehicle was scruffy, I explored several options to remove surface rust, scrape off the undercoating, and sand off road grime. Luckily, I had come across a new surface-cleaning method using dry ice blasting. Viewing several project videos using this technique, the dry eyes removed the dirt and grime and hand rust through acting on the paint. I located a father-son team who would come to your location, make a house call, and book a session. I placed the El Camino on my 2-post lift and draped the undercarriage with canvas fabric in hopes of containing all the residue. After five hours of work, the undercarriage looked factory new. However, I should have draped off my entire garage because I had a layer of fine particles – aka dust – all over everything. It took me three full days to get everything clean again. Overall, the process was totally worth it as I never could have gotten into all the nooks and crannies underneath the vehicle. The day after the blasting, I quickly followed up with two coats of undercarriage paint to minimize the risk of flash rust.
Soon, I will be stripping down the vehicle for a new paint job.